make this short and sweet with lots of pics...
started out with a fuel oil barrel,
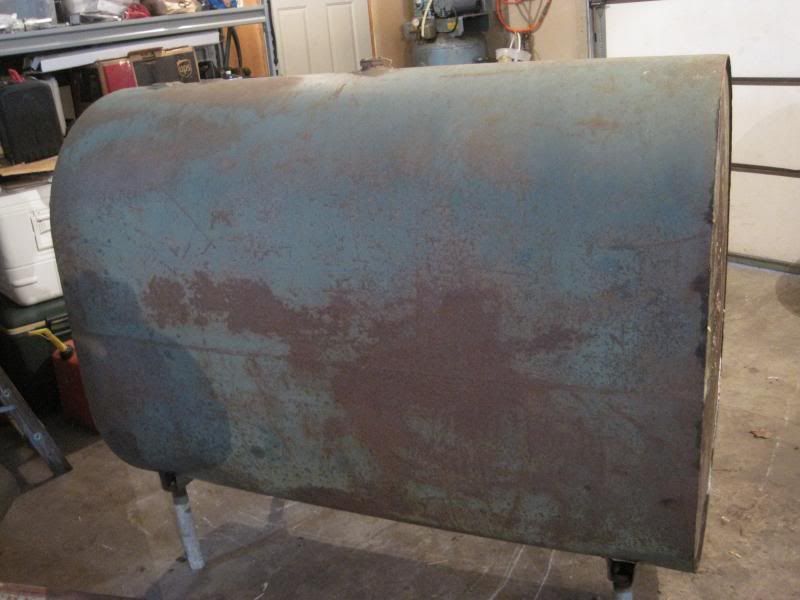
marked off area to cut out

sawzall action
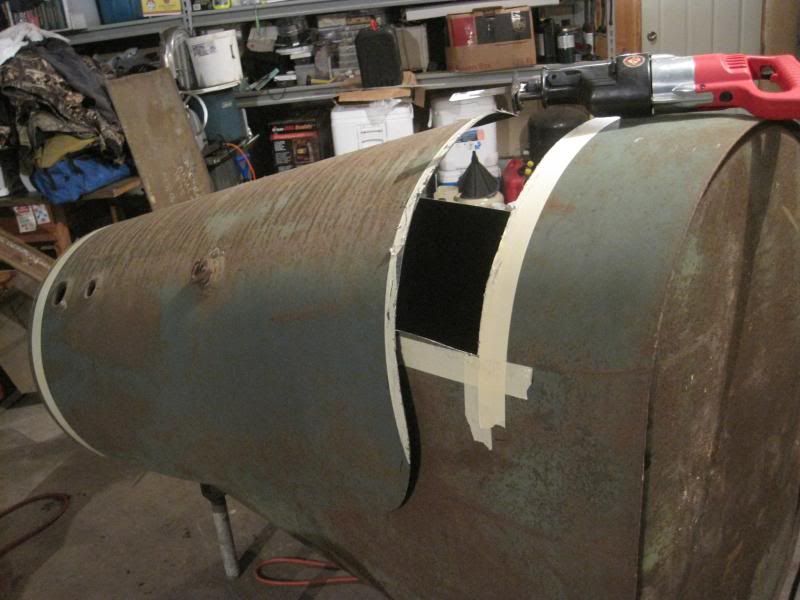
save end piece from cutout section
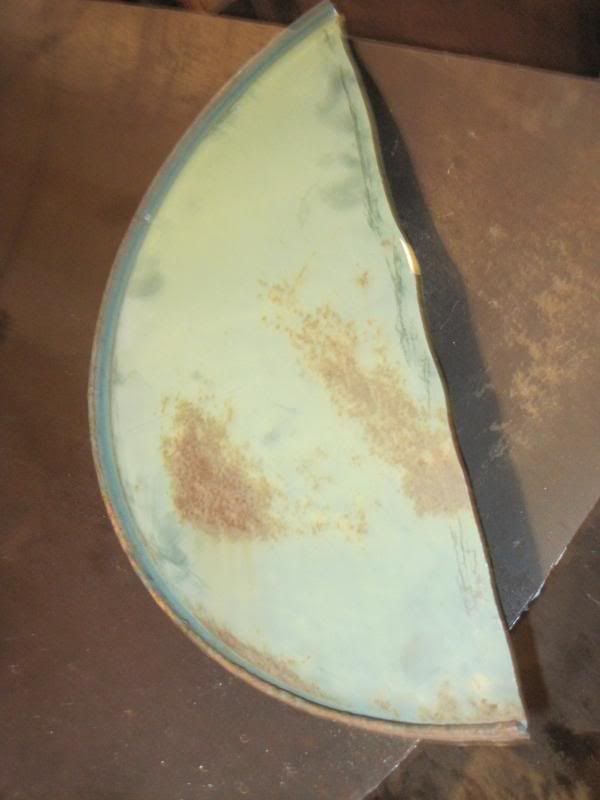
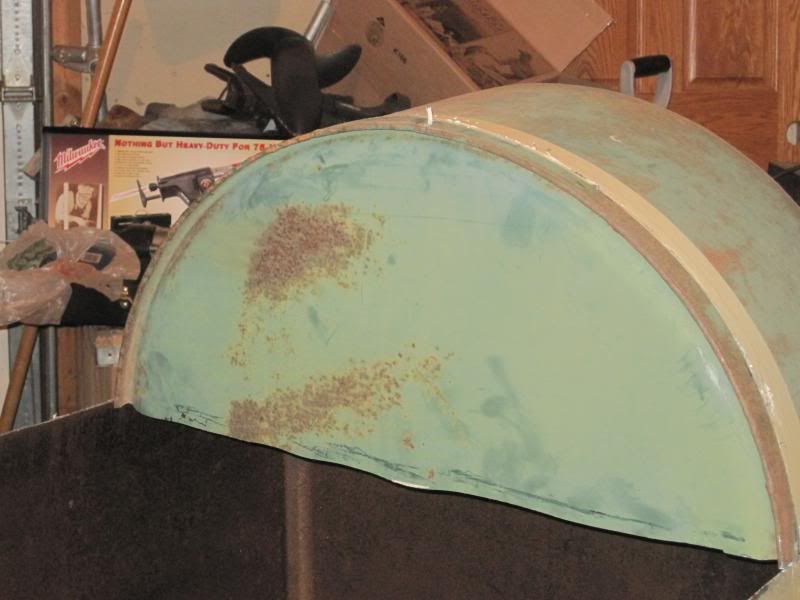
built frame work for burner area and air channel
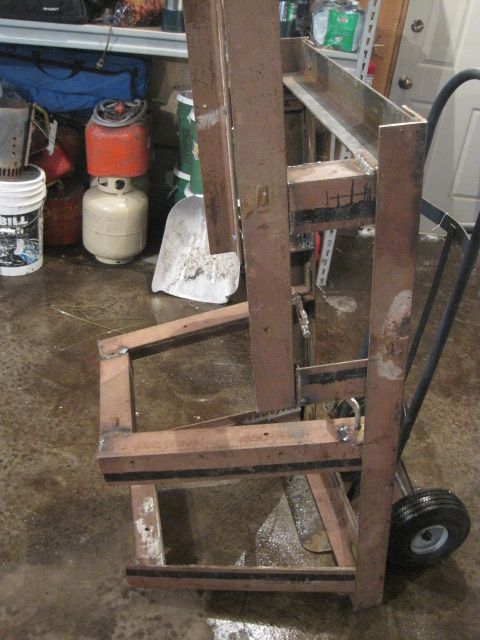
sheeted it out with steel, notice all surfaces are set on a slope which is to stack the firebrick on for insulation pushing all the hot air up to the evaporator pan area.
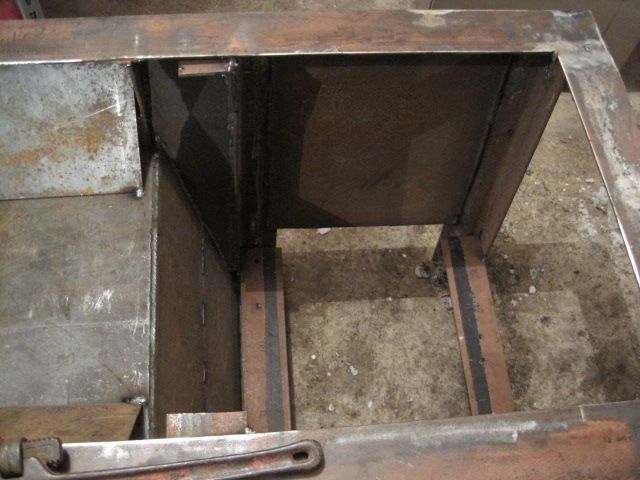
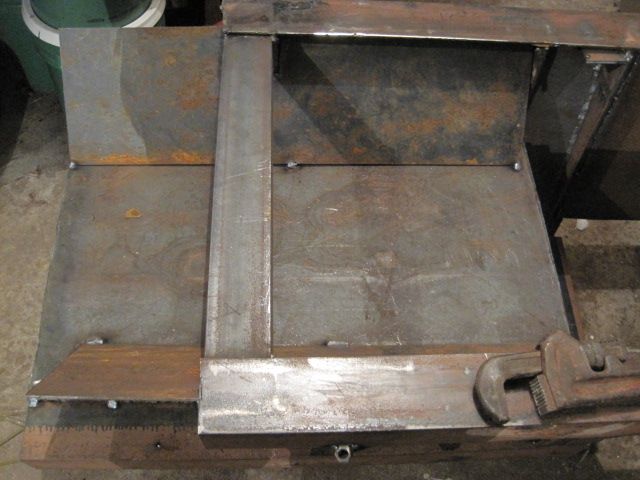
here we are back to the fuel barrel...
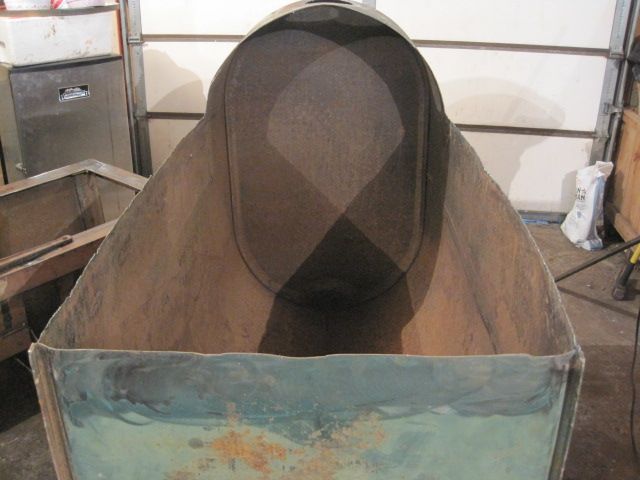
try and insert unit into fuel barrel, I had to open up the barrel in a cupla places to get the insert to fit, didnt consider the hypotenuse length.
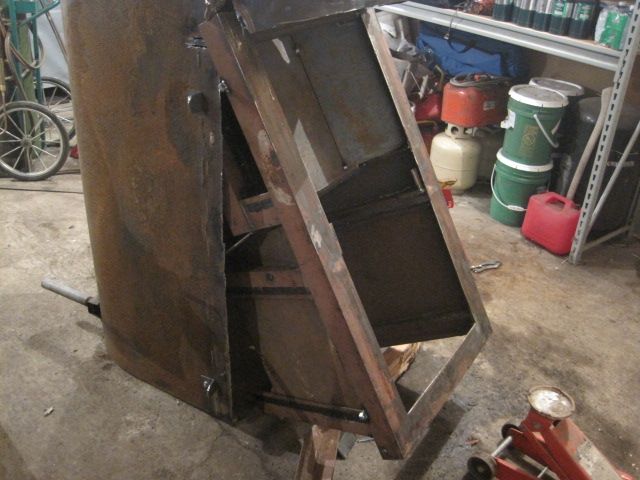
fit the fire brick into place, diamond saw blade works well.
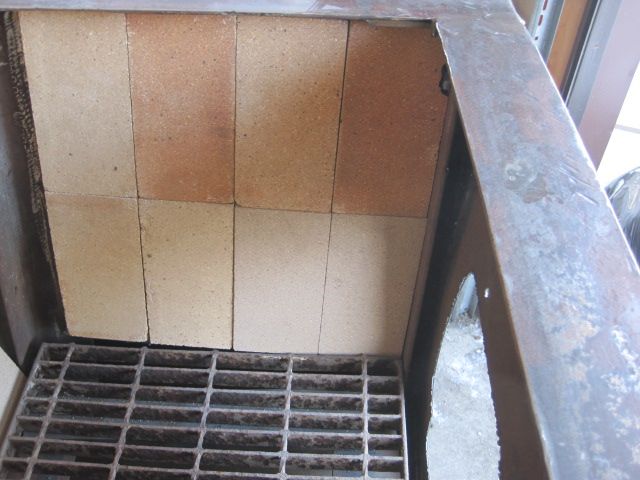
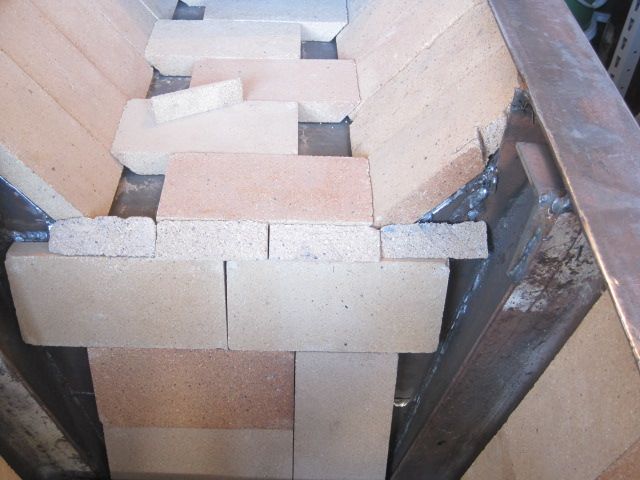
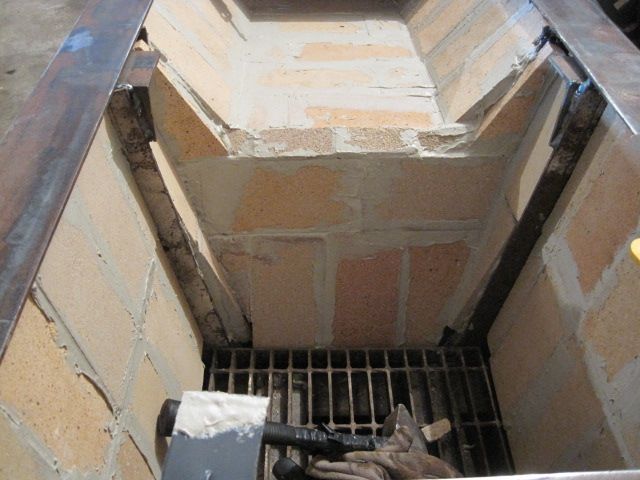
using refractory cement mortar the fire brick all up in place and fill in any gaps.

cemented a furnace rope seal on the evaporator pan surface.


got a barrel stove kit for a door and stack/damper...

Here is the actual s/s divided evaporator pan

the way this one works is the dividers are notched out to allow the sap to flow through the pan much the same way an Amaz N Smoker works.

here is all pieces in place including the raw sap pan, i am thinking of running a flu from the side of the barrel and run it up and around the raw sap pan and maybe preheat the sap maybe cutting a bit of time off the process.


The insert with the fire bricks is not fastened to the barrel in any fashion as the evaporator pan has to be perfectly level so I made leveling screws on each corner.

this is my draw off point which is on the opposite end of the pan from where the raw sap enters. the thermo on the pan is specially made for maple syrup making. as sap heats up the thermo wil make one full turn and settle in on the "0" mark when it is at boiling temp. as the sugar level increases so does the boiling point so when it gets to the "7", 212 + 7 = 219. I will draw off slightly before that and finish off in larger quantities for better consistancy.
Also props to Jim Shumacher of Smoky Lake maple equipment supplies and Maple Trader.com forum

Anyway we are in the middle of a boom season here and i really dont have much time to even post but because of the snowstorm I played catch up this morning and finished off stuff i had taken down close but not totally finished. Needless to say the new unit works awesome and that will be another post on the maple season maybe in a day or two.
thks for checking.
started out with a fuel oil barrel,

marked off area to cut out

sawzall action

save end piece from cutout section


built frame work for burner area and air channel

sheeted it out with steel, notice all surfaces are set on a slope which is to stack the firebrick on for insulation pushing all the hot air up to the evaporator pan area.


here we are back to the fuel barrel...

try and insert unit into fuel barrel, I had to open up the barrel in a cupla places to get the insert to fit, didnt consider the hypotenuse length.

fit the fire brick into place, diamond saw blade works well.


using refractory cement mortar the fire brick all up in place and fill in any gaps.

cemented a furnace rope seal on the evaporator pan surface.


got a barrel stove kit for a door and stack/damper...

Here is the actual s/s divided evaporator pan

the way this one works is the dividers are notched out to allow the sap to flow through the pan much the same way an Amaz N Smoker works.

here is all pieces in place including the raw sap pan, i am thinking of running a flu from the side of the barrel and run it up and around the raw sap pan and maybe preheat the sap maybe cutting a bit of time off the process.


The insert with the fire bricks is not fastened to the barrel in any fashion as the evaporator pan has to be perfectly level so I made leveling screws on each corner.

this is my draw off point which is on the opposite end of the pan from where the raw sap enters. the thermo on the pan is specially made for maple syrup making. as sap heats up the thermo wil make one full turn and settle in on the "0" mark when it is at boiling temp. as the sugar level increases so does the boiling point so when it gets to the "7", 212 + 7 = 219. I will draw off slightly before that and finish off in larger quantities for better consistancy.
Also props to Jim Shumacher of Smoky Lake maple equipment supplies and Maple Trader.com forum

Anyway we are in the middle of a boom season here and i really dont have much time to even post but because of the snowstorm I played catch up this morning and finished off stuff i had taken down close but not totally finished. Needless to say the new unit works awesome and that will be another post on the maple season maybe in a day or two.
thks for checking.


 Gotta pay the bills tho. It was 90* and really hunid at work today
 ..... Still I wish I was home. Love to get a look at your setup up close.
Comment