Dried Beef Step by Step (My Best Ever)
I decided to write this one up the best I can, because this stuff is Awesome, and I'd like as many of you as possible to get to taste this stuff!!!
It's really very easy to make:
When I was carrying a lunch box, I used to always have two Sammies in there.
If Mrs Bear put two Ham & Cheese in there, after 3 days, I'd get tired of it.
If it was Roast Beef, same thing after 3 or 4 days.
Lebanon & Cheese, maybe only two days & I was tired of it.
But Dried Beef was different, I could eat that for months, but it was always too expensive!!!
Dried Beef and American Cheese with Miracle Whip (or Mayo) on white bread has always been my favorite "lunch-box" sammy. That's what I carried on Construction jobs, Beth Steel jobs, Cabinetmaking jobs, and Deck jobs (also when fishing or hunting).
Just about every deer I ever shot had at least one hind quarter turned into "Dried Venison" by one of our local butcher shops in SE Pennsylvania.
Now I can finally make my own. I made my first batch nearly 3 years ago, and they just keep getting better and better!
If I don't have any Venison, I just get some lean beef. Eye Round works the best for me---Nice shape, and very little trimming needed.
I'll try to make this as easy as I can, so anybody can do what I just learned how to do about 3 years ago.
Day #1 (Prepping & starting the cure):
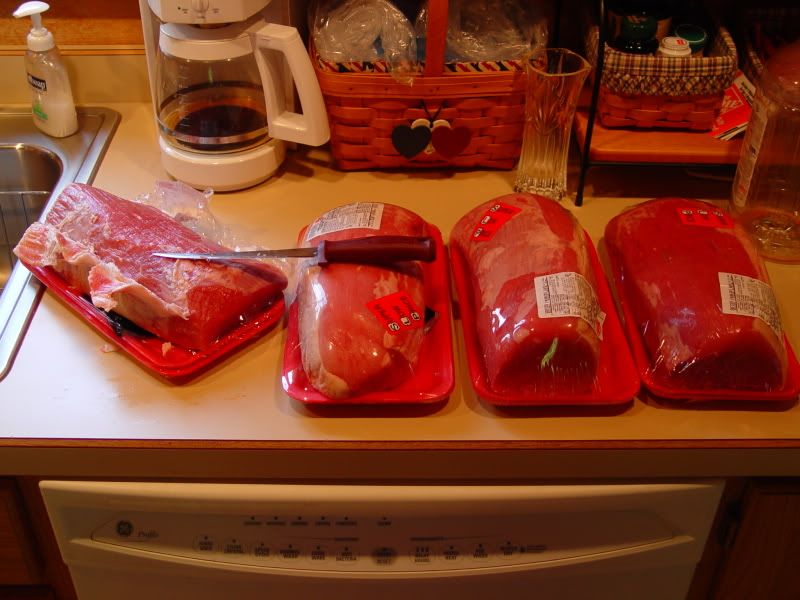
First I found some Beef Eye Round at $2.99 per pound, the cheapest I've seen it for years.
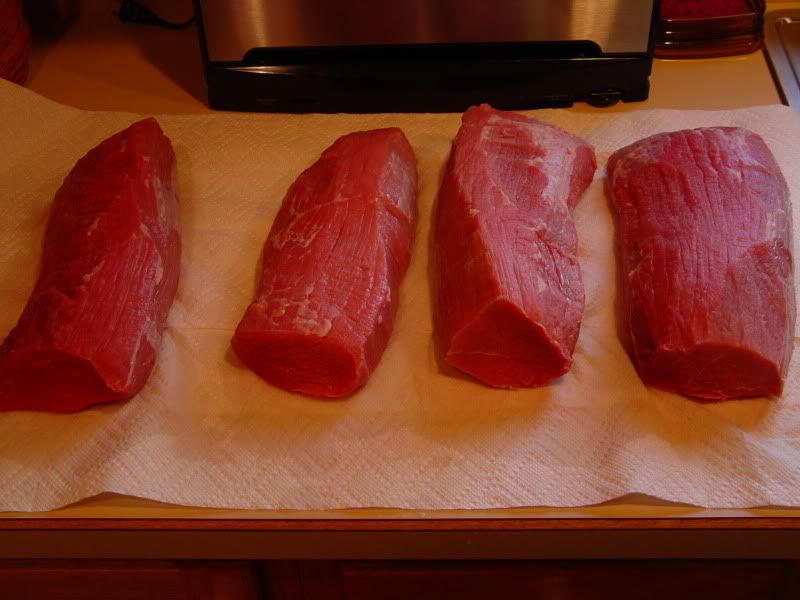
I got 4 roasts, equalling a total of 15 pounds, and after trimming all the fat off, I still had exactly 14 pounds of nice lean red Beef.
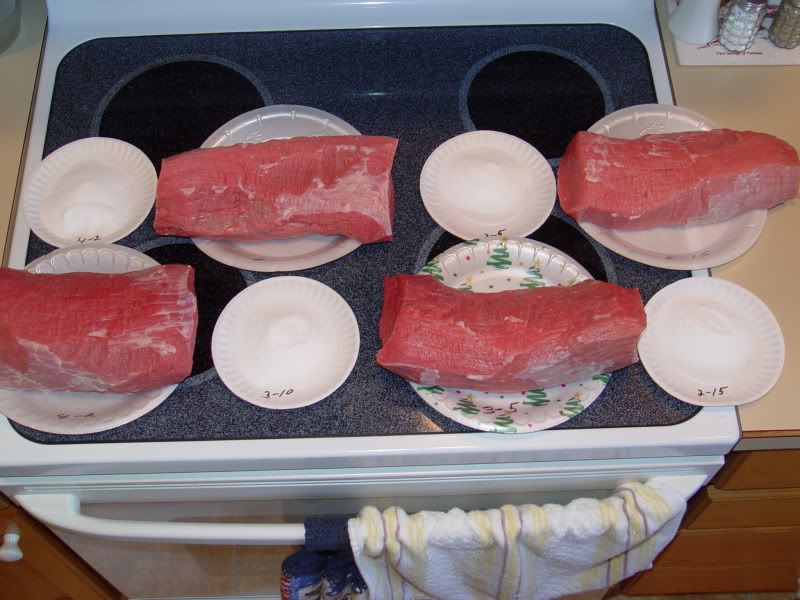
Then I weighed each piece, and put them each on their own plate, and marked the plates they were on with those weights.
Then I calculated the proper amount of Tender Quick for each piece, and put that on separate smaller plates.
I use the suggested amount, which is 1/2 ounce of TQ for every pound of meat.
Rub the proper amount of TQ on each piece, along with about 1 tsp of Brown Sugar per pound.
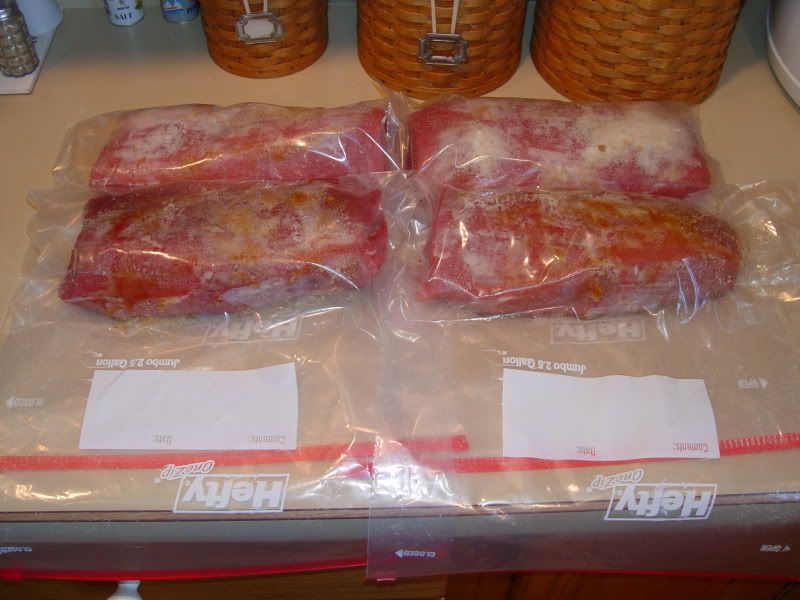
Then put each piece in a Zip-lock bag, along with any cure that fell off before it went into the bag.
That cure was measured for each piece, so it must stay with the piece it was designated for.
Then the bags go into the fridge at temperatures between 35˚ and 40˚ (I keep mine at 37˚-38˚).
To calculate how long to cure in fridge, I use the following method:
One day for every 1/2" of thickness of the thickest piece.
Then add 2 days for the absolute minimum number of days.
I then add 2 or 3 days to that for more safety, and to pick a day I like to smoke.
You can add another couple days if you can't smoke on one of those days.
My largest piece was 2 3/4" thick, so that gives me 6 days, plus 2 days for an absolute minimum of 8 days.
Then I usually add 2 more days for safety, but this time I added 4 more days (12 total days), so I could smoke it on a day I had nothing else to do.
Day #13 (Remove from cure, and Prep for Smoking):
So after 12 days curing, I rinsed all 4 pieces off.
I usually soak my cured meats for a half hour or an hour, but since I never get any salt flavor, I decided not to this time.
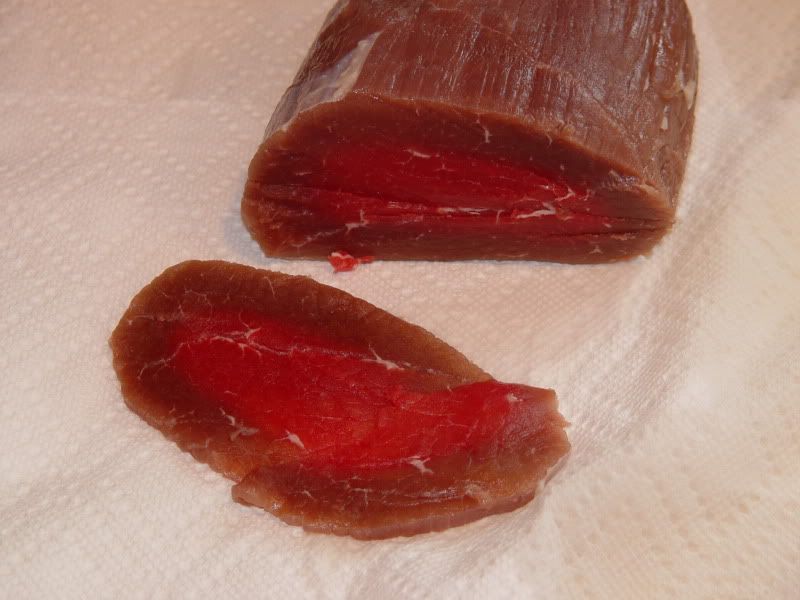
I cut the biggest piece in half, and took a slice from the middle for my testing.
The center was dark reddish pink, so it was obvious that the cure got all the way in, and there was only a very slight salt flavor---Perfect!
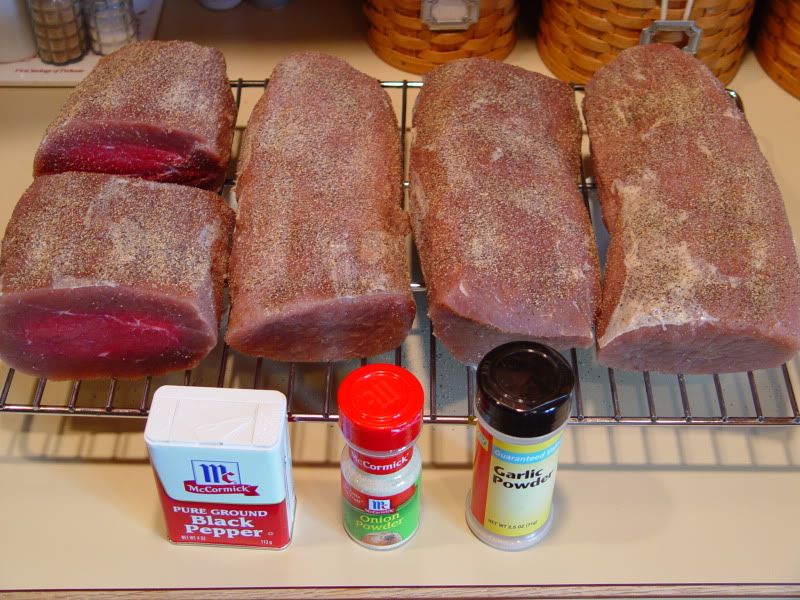
I dried the pieces off, and managed to get them all laid out on one smoker shelf, after sprinkling some Black Pepper, Garlic Powder, and Onion Powder on both sides.
Then back into my meat fridge to await the next day's smoking.
Day #14 (Smoking Time):
6:00AM------------Preheat Smoker to 140˚.
6:30AM------------Put meat on 2nd position in MES. Sterilize Probes, and insert. Fill AMNS with Hickory Dust & light one end.
7:00AM------------Put AMNS on bars to left of Chip Drawer.
8:00AM------------Meat at 77˚ IT.
9:00AM------------Meat at 98˚ IT.
10:00AM----------Meat 108˚.
11:00AM----------Meat 114˚.
12:00Noon-------Meat 116˚. Bump Heat up to 180˚.
1:00PM-----------Meat 120˚.
2:00PM-----------Meat 124˚. Only 2" of Dust left to burn. I added about 1 1/4 rows of Hickory pellets next to burning Dust to ignite it.
2:00PM-----------Also Bump Heat up to 180˚.
3:00PM-----------Meat 132˚.
4:00PM-----------Meat 135˚.
5:00PM-----------Meat 137˚. Bump Heat to 200˚.
6:00PM-----------Meat 142˚.
7:00PM-----------Meat 147˚.
8:00PM-----------Meat 152˚.
9:00PM-----------Meat 157˚. AMNS ran out of fuel.
10:00PM---------Meat Temps from 158˚ to 162˚. Pulled all out of smoker.
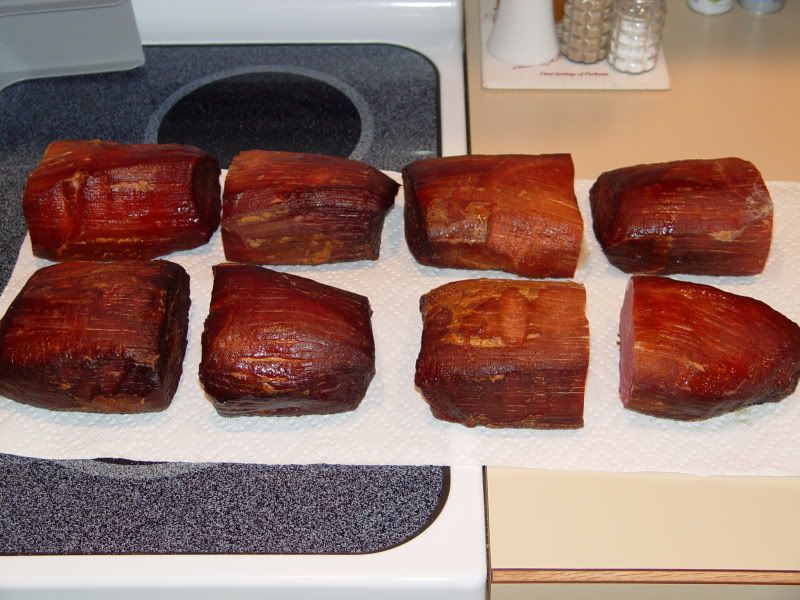
Rinsed all pieces, patted dry, and cooled down to 100˚.
Then put in a bowl, and put in meat fridge for a couple days.
Day #16 (Slicing & Freezing):
Two days later, I moved the pieces to the freezer for 4 hours, and then sliced it all up.
I sliced the ends a little thicker for my Son.
He says the end slices are better tasting than any Jerky he ever had.
Then I sliced the rest as thin as I could, while still keeping it in full slices.
I ended up with 10 pounds, 2 ounces of the Best Dried Beef I ever tasted.
I put about 1/3 pound in each vacuum pack, and froze all but what we would eat in a few days.
I tried not to miss anything, but I'll try to answer any questions anyone has.
Bear
Trimming fat from 15 pounds of Eye Round Roast:
14 pounds left after trimming:
All weighed, and proper amounts of TQ in small plates to match each piece:
All ready for 12 days of curing:
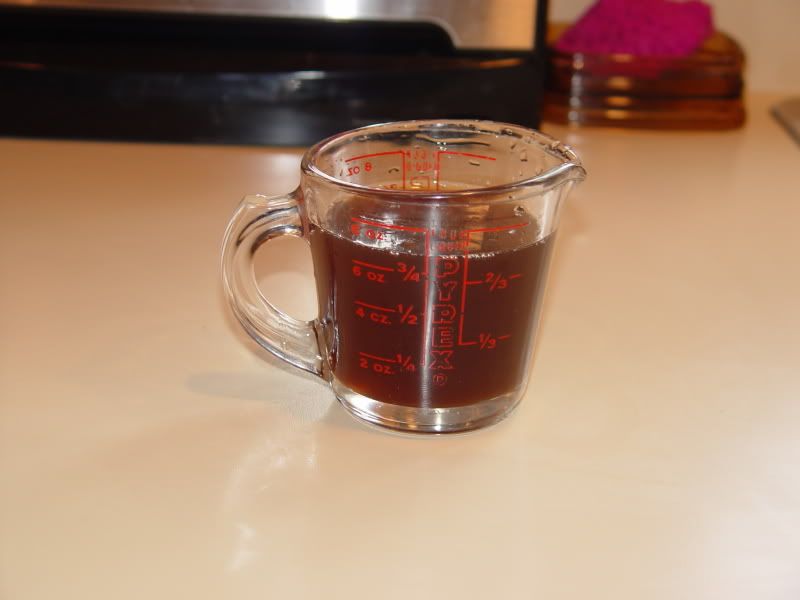
Juice left in all 4 bags, after curing, was 7 ounces:
Sliced for Salt-fry Test. Color shows cure reached to center:
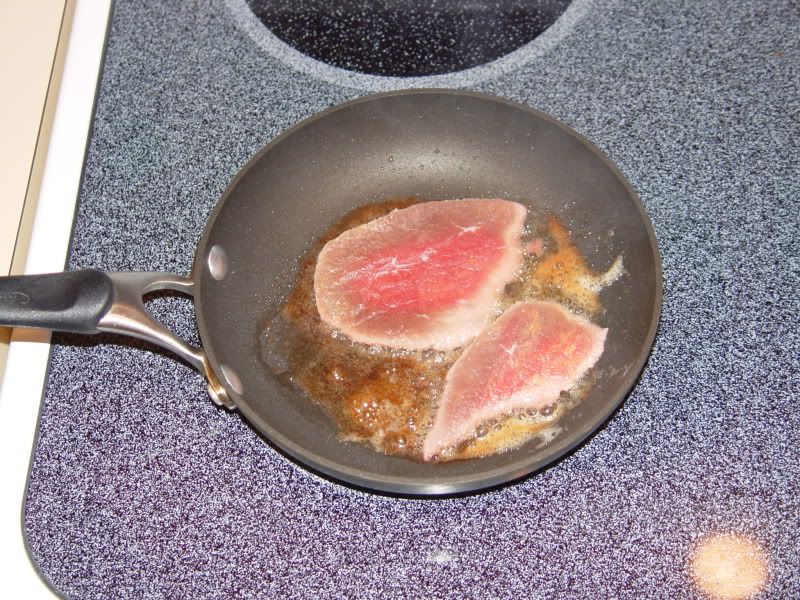
Salt-fry Test in progress:
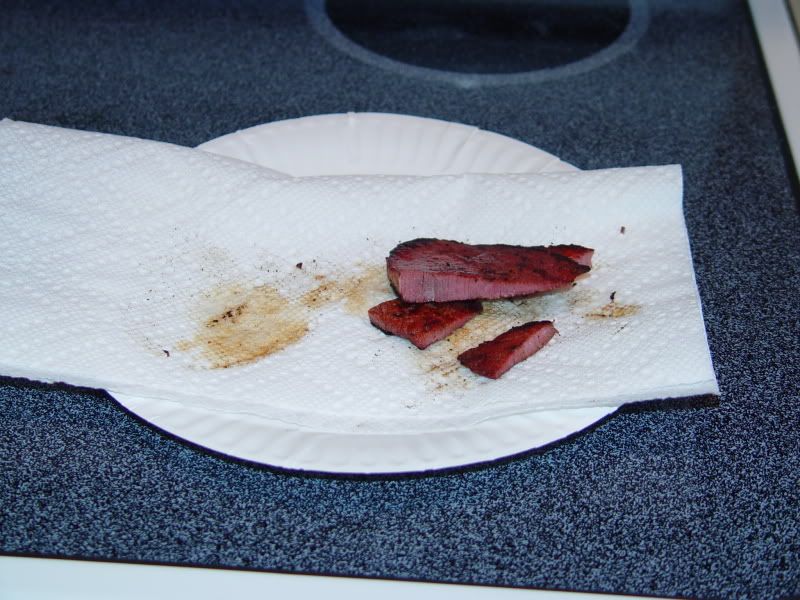
Test showed "Just Right":
Ready for overnight in fridge before smoking day:
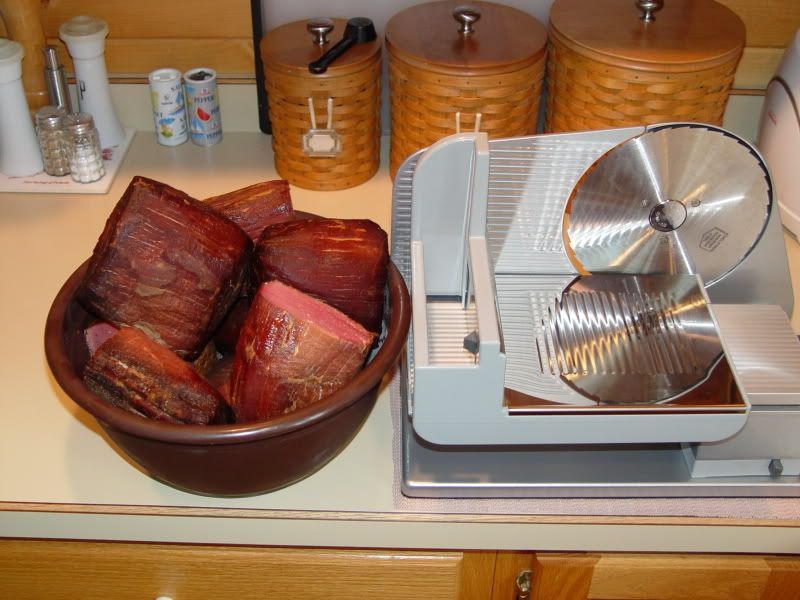
All pieces cut in half, and ready for slicing real thin:
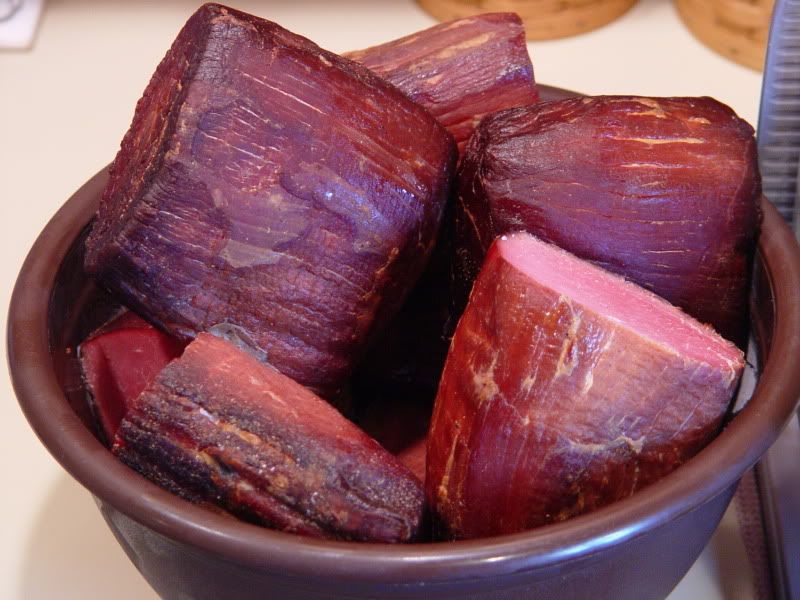
Closeup to show color:
Victims all lined up:
All sliced up:
9 pounds, 7 ounces of slices, and 11 ounces of ends.
Total-----10 pounds, 2 ounces from 14 pounds of raw trimmed Eye Rounds:
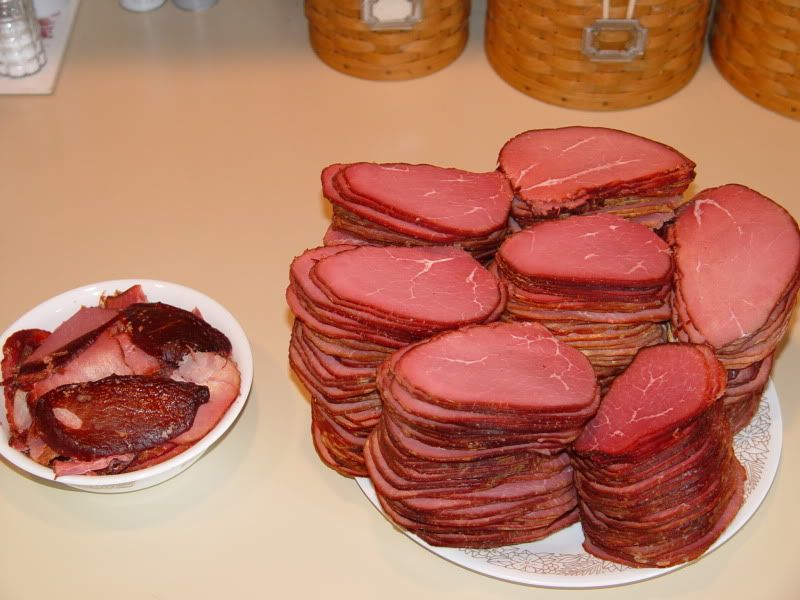
Closeup of slices:

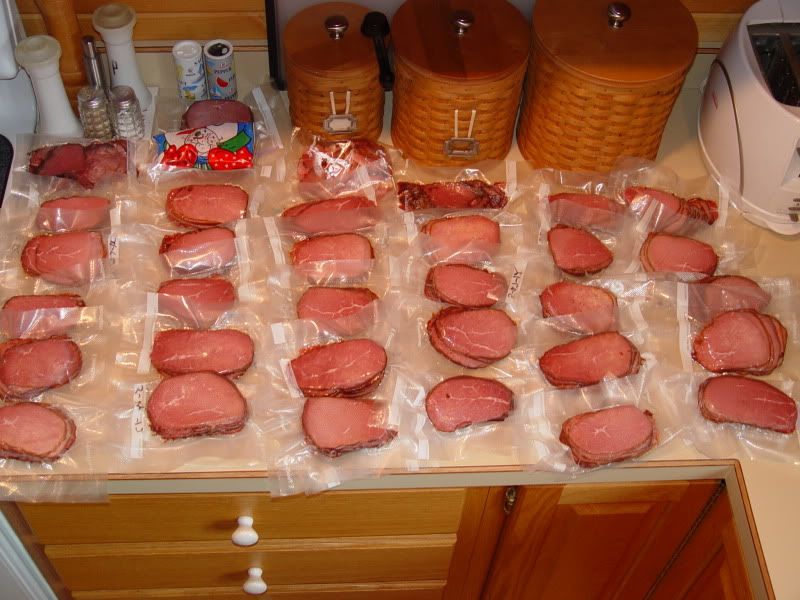
All ready for eating & freezing:
I decided to write this one up the best I can, because this stuff is Awesome, and I'd like as many of you as possible to get to taste this stuff!!!
It's really very easy to make:
When I was carrying a lunch box, I used to always have two Sammies in there.
If Mrs Bear put two Ham & Cheese in there, after 3 days, I'd get tired of it.
If it was Roast Beef, same thing after 3 or 4 days.
Lebanon & Cheese, maybe only two days & I was tired of it.
But Dried Beef was different, I could eat that for months, but it was always too expensive!!!
Dried Beef and American Cheese with Miracle Whip (or Mayo) on white bread has always been my favorite "lunch-box" sammy. That's what I carried on Construction jobs, Beth Steel jobs, Cabinetmaking jobs, and Deck jobs (also when fishing or hunting).
Just about every deer I ever shot had at least one hind quarter turned into "Dried Venison" by one of our local butcher shops in SE Pennsylvania.
Now I can finally make my own. I made my first batch nearly 3 years ago, and they just keep getting better and better!
If I don't have any Venison, I just get some lean beef. Eye Round works the best for me---Nice shape, and very little trimming needed.
I'll try to make this as easy as I can, so anybody can do what I just learned how to do about 3 years ago.
Day #1 (Prepping & starting the cure):
First I found some Beef Eye Round at $2.99 per pound, the cheapest I've seen it for years.
I got 4 roasts, equalling a total of 15 pounds, and after trimming all the fat off, I still had exactly 14 pounds of nice lean red Beef.
Then I weighed each piece, and put them each on their own plate, and marked the plates they were on with those weights.
Then I calculated the proper amount of Tender Quick for each piece, and put that on separate smaller plates.
I use the suggested amount, which is 1/2 ounce of TQ for every pound of meat.
Rub the proper amount of TQ on each piece, along with about 1 tsp of Brown Sugar per pound.
Then put each piece in a Zip-lock bag, along with any cure that fell off before it went into the bag.
That cure was measured for each piece, so it must stay with the piece it was designated for.
Then the bags go into the fridge at temperatures between 35˚ and 40˚ (I keep mine at 37˚-38˚).
To calculate how long to cure in fridge, I use the following method:
One day for every 1/2" of thickness of the thickest piece.
Then add 2 days for the absolute minimum number of days.
I then add 2 or 3 days to that for more safety, and to pick a day I like to smoke.
You can add another couple days if you can't smoke on one of those days.
My largest piece was 2 3/4" thick, so that gives me 6 days, plus 2 days for an absolute minimum of 8 days.
Then I usually add 2 more days for safety, but this time I added 4 more days (12 total days), so I could smoke it on a day I had nothing else to do.
Day #13 (Remove from cure, and Prep for Smoking):
So after 12 days curing, I rinsed all 4 pieces off.
I usually soak my cured meats for a half hour or an hour, but since I never get any salt flavor, I decided not to this time.
I cut the biggest piece in half, and took a slice from the middle for my testing.
The center was dark reddish pink, so it was obvious that the cure got all the way in, and there was only a very slight salt flavor---Perfect!
I dried the pieces off, and managed to get them all laid out on one smoker shelf, after sprinkling some Black Pepper, Garlic Powder, and Onion Powder on both sides.
Then back into my meat fridge to await the next day's smoking.
Day #14 (Smoking Time):
6:00AM------------Preheat Smoker to 140˚.
6:30AM------------Put meat on 2nd position in MES. Sterilize Probes, and insert. Fill AMNS with Hickory Dust & light one end.
7:00AM------------Put AMNS on bars to left of Chip Drawer.
8:00AM------------Meat at 77˚ IT.
9:00AM------------Meat at 98˚ IT.
10:00AM----------Meat 108˚.
11:00AM----------Meat 114˚.
12:00Noon-------Meat 116˚. Bump Heat up to 180˚.
1:00PM-----------Meat 120˚.
2:00PM-----------Meat 124˚. Only 2" of Dust left to burn. I added about 1 1/4 rows of Hickory pellets next to burning Dust to ignite it.
2:00PM-----------Also Bump Heat up to 180˚.
3:00PM-----------Meat 132˚.
4:00PM-----------Meat 135˚.
5:00PM-----------Meat 137˚. Bump Heat to 200˚.
6:00PM-----------Meat 142˚.
7:00PM-----------Meat 147˚.
8:00PM-----------Meat 152˚.
9:00PM-----------Meat 157˚. AMNS ran out of fuel.
10:00PM---------Meat Temps from 158˚ to 162˚. Pulled all out of smoker.
Rinsed all pieces, patted dry, and cooled down to 100˚.
Then put in a bowl, and put in meat fridge for a couple days.
Day #16 (Slicing & Freezing):
Two days later, I moved the pieces to the freezer for 4 hours, and then sliced it all up.
I sliced the ends a little thicker for my Son.
He says the end slices are better tasting than any Jerky he ever had.
Then I sliced the rest as thin as I could, while still keeping it in full slices.
I ended up with 10 pounds, 2 ounces of the Best Dried Beef I ever tasted.
I put about 1/3 pound in each vacuum pack, and froze all but what we would eat in a few days.
I tried not to miss anything, but I'll try to answer any questions anyone has.
Bear
Trimming fat from 15 pounds of Eye Round Roast:

14 pounds left after trimming:

All weighed, and proper amounts of TQ in small plates to match each piece:

All ready for 12 days of curing:

Juice left in all 4 bags, after curing, was 7 ounces:

Sliced for Salt-fry Test. Color shows cure reached to center:

Salt-fry Test in progress:

Test showed "Just Right":

Ready for overnight in fridge before smoking day:

All pieces cut in half, and ready for slicing real thin:

Closeup to show color:

Victims all lined up:

All sliced up:
9 pounds, 7 ounces of slices, and 11 ounces of ends.
Total-----10 pounds, 2 ounces from 14 pounds of raw trimmed Eye Rounds:

Closeup of slices:

All ready for eating & freezing:


 if they let me :D


Comment